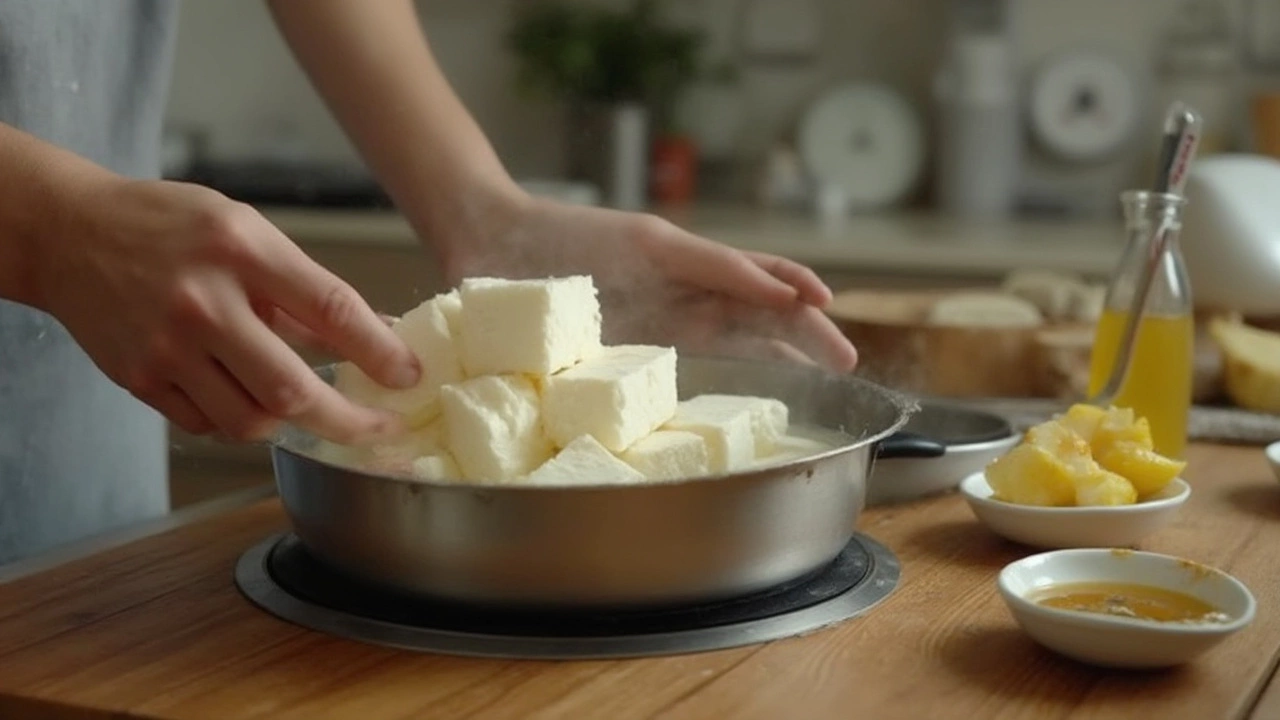
Ever noticed your paneer turning out so rubbery that it feels like biting into an eraser? You’re definitely not alone. It’s one of the top complaints in Indian kitchens, and you might be surprised how many home cooks give up on making paneer after one bouncy disaster. If you’re just nodding along and wondering what on earth went wrong, you’re about to get all the answers—plus a handful of easy tweaks to guarantee that next time, your paneer is melt-in-the-mouth dreamy. And yes, I’ve been there too, staring at a pan of tough cubes, blaming the milk and the universe. Let’s ditch the blame game.
What Makes Paneer Rubbery? Major Causes and Myths
For something with just two main ingredients—milk and acid—it’s wild how much can go astray when making paneer. The most common myth is that you need fancy milk or secret-ingredient lemon juice. Honestly, the truth is usually way more basic: texture issues nearly always come down to cooking time, temperature, drainage, or even how you handle the curds. Let’s break down the usual suspects.
Rubbery paneer is almost always the result of mistakes at one (or more) of these steps:
- Overheating the milk or curds: Once the milk curdles, keep the heat low. If you boil curds after separation, the proteins seize up and go chewy. That’s chemistry—casein proteins tensing up like a flexed muscle.
- Using ultra-pasteurized milk: In New Zealand, supermarket milk is often highly processed. Ultra-pasteurization changes the protein structure. You can still make paneer with it, but it firms up extra quick, making it easy to overcook.
- Over-pressing or draining: If you pile on the weights, wring, or press for too long, you squeeze out not just the whey but also moisture needed for a soft bite. Ten to fifteen minutes under light pressure is usually enough for cube-able paneer.
- Under-acidification: If you don’t add enough acid (lemon, vinegar, or citric acid), the curds can end up loose and require more heating, which leads you—guess where? Chewy town.
- Leaving the paneer uncovered in the fridge: Paneer loses moisture easily, especially in cool storage. Exposed cubes can harden almost overnight.
Here’s something you might not know: Paneer in commercial kitchens sometimes gets dosed with a touch of flour or cornstarch during pressing to guarantee a soft, bouncy (not rubbery) texture. That’s totally legal, but you don’t need additives at home if your technique is right. Get the basics right, and the texture will usually sort itself out.
For a little perspective, check out this comparison table showing the difference in texture based on various factors:
| Milk Type | Acid Used | Heating Method | Pressing Time | Texture Result |
|---|---|---|---|---|
| Full-cream (pasteurized) | Lemon juice | Heated to just boiling, then reduced heat | 10 min, light pressure | Soft, smooth |
| Ultra-pasteurized | Vinegar | Boiled vigorously | 25 min, heavy pressure | Rubbery, dry |
| Raw cow’s milk | Citric acid (diluted) | Slow heating, gentle stirring | 15 min, moderate pressure | Creamy, tender |
This isn’t just about theory; you can feel the difference, bite after bite. My own cat, Neko, has tried smuggling away the softer batch left on my counter—true story (don’t worry, paneer is safe for cats in tiny amounts, but I still had to hide my failures behind a saucepan more than once).

How to Fix Rubbery Paneer: Simple Solutions You Can Start Today
Now that you’ve spotted the culprits, here’s how to course-correct. Even if you think your current batch is beyond hope, you might be able to salvage it, or at the very least guarantee the next one turns out right. These aren’t chef-level hacks—just sensible steps that actually work in the real world.
- Don’t overcook the milk or curds. Once the milk splits cleanly, remove it from the heat right away. Stir gently (not vigorously) to help the curds gather, but resist lingering on the stove. Time is your friend here—let those curds sit off-heat for two minutes so they firm up, but don’t toughen.
- Wrap gently, press lightly. When you strain the curds through a cloth, gather the corners to form a pouch and press just until whey stops dripping. Lay a light weight (think an empty pot filled with water, not bricks) for only 10-15 minutes. If you want a paneer for crumbling (for bhurji, for example), cut the pressing time down further.
- Add the acid gradually. Don’t dump it all at once. Add a tablespoon at a time, stirring, until the curds clearly separate from clear, greenish whey. You want an obvious split, not milky soup.
- Submerge in water after pressing. This is a pro tip: once the paneer has pressed and firmed up, pop the block into a bowl of cold water. Leave it there for 30 minutes. This step makes a huge difference and stops the edges from turning hard. It also helps your paneer keep its shape when you cook it—no weird crumbling corners.
- Store right. Keep paneer covered, submerged in clean, cold water in the fridge. Change the water daily and you’ll get three days before texture changes. If you’re freezing, cube and wrap portions tightly. Don’t expect thawed paneer to be as soft as fresh, but the water trick works wonders for reviving it as well.
Cooking texture fixes are super handy: if you have a batch that’s turned out rubbery already and you’re desperate, try soaking it in warm (just warm, not hot) water for 10-15 minutes. It won’t turn rubber into silk, but it’ll soften things up enough for curries.
Want to make restaurant-style soft paneer at home? Some classic tips from Indian chefs:
- Use full-cream milk—don’t skim.
- Citric acid (diluted and added slowly) can be more consistent than lemon or vinegar if you have it.
- Don’t over-stir the curds—let gravity do its thing.
Oh, and never fry paneer directly from the fridge. Room-temperature cubes, lightly dusted with cornflour, give you the lovely golden crust without drying out the inside. If you’re adding it to gravies, drop the cubes in hot water for a minute right before serving. Restaurant trick—makes them soft, even if your base paneer was dodgy from the start.

Paneer FAQs, Handy Fixes, and Common Mistakes (So You Never Make Them Again)
Questions about paneer come up at almost every dinner party I host. (Yes, even in Auckland, paneer is a crowd favorite for vegetarians and omnivores alike.) Here are the ones I hear the most, along with answers that’ll save your next homecooked meal.
- Can I fix a rubbery paneer? You can’t magically reverse a totally overcooked batch, but soaking in water (warm for older paneer, cold for fresh) adds back a little moisture. Grating the paneer or cutting it smaller before cooking also makes it less chewy.
- What milk is best? Full-fat, pasteurized (not ultra-pasteurized) cow’s milk is ideal. Goat’s milk works well too and delivers a mild tang. Avoid skim and plant-based milks—they don’t have the right protein content to set up into proper curds.
- How acidic is too acidic? If the paneer tastes sour, you probably went overboard with lemon or vinegar, or didn’t rinse the curds well after draining. Good news: soaking the block in fresh water before pressing fixes mild sourness.
- Why does my paneer fall apart? Under-pressed paneer or rushing the curdling process can lead to crumbly messes. Gentle pressing for ten minutes and gradually adding acid solves this problem.
- How long does homemade paneer last? Three days in cold water in the fridge. After that, the edges get tough and the flavor starts to fade.
- Can you freeze paneer? Yes, cut into cubes, wrap tightly, and freeze for up to two months. Thaw in the fridge and revive texture by soaking briefly in warm water before using.
Packing in a few data points, here’s a quick stats table for homemade vs. store-bought paneer:
| Type | Typical Water Content | Typical Shelf Life (fridge) | Texture (fresh) |
|---|---|---|---|
| Homemade, lightly pressed | ~70% | 3 days | Soft, slightly crumbly |
| Store-bought, vacuum packed | ~60% | 7-10 days | Firm, dense |
| Homemade, over-pressed | ~50% | 3 days | Hard, rubbery |
Best part? Once you’ve figured out your ideal paneer texture, you can tweak everything from curries to snacks. Soft blocks for shahi paneer, firmer cubes for skewers or stir fries, a crumblier batch for stuffing samosas—the control is all yours. And honestly, after just a few rounds, the process becomes as easy as brewing your morning coffee.
So next time rubbery paneer threatens your dinner, just smile and tweak your technique. The difference is like night and day—nobody wants eraser cubes in their saag paneer! If you’re feeling ambitious, test two batches side-by-side: one pressed longer, one pressed lighter, and see for yourself. Even Neko turns up his nose at the tough ones, so you’ll have expert backup in your corner. Happy paneer-making!
