
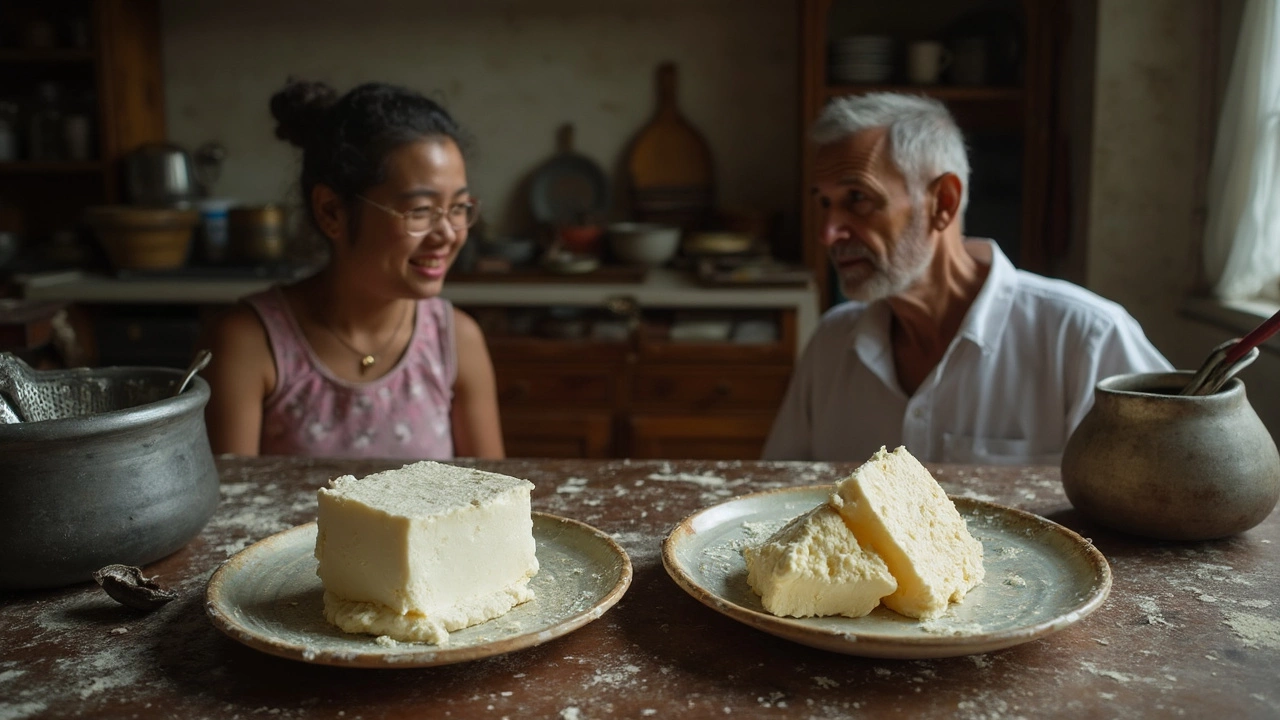
That moment when you cut into your fresh paneer and it crumbles all over the cutting board can be pretty annoying. If this keeps happening, don’t blame yourself right away—crumbly paneer is ridiculously common, especially for first-timers. Good news: it’s usually one or two little things messing it up, not your skills.
Let’s get real about what actually makes homemade paneer fall apart. Sometimes it’s about how you add your acid, or maybe your milk choice isn’t helping. A lot of folks try to wing it, skip a step, or rush because paneer seems simple, but just one shortcut can really change the texture—suddenly your cubes are more like cheesy sand than the smooth blocks you’re aiming for.
Here’s what you need to know: making soft, sliceable paneer comes down to a few basics. If you fix those, you’re set. Let’s dig into what could be going wrong and how you can get that perfect homemade paneer, minus the crumble.
- Why Paneer Gets Crumbly: The Usual Suspects
- Milk: Quality, Type, and Temperature
- Coagulation: Timing and Acid Choices
- How to Fix and Prevent Crumbly Paneer
Why Paneer Gets Crumbly: The Usual Suspects
If your homemade paneer keeps crumbling, there’s a good chance one of these classic mistakes is to blame. Crumbly paneer isn’t a mystery—usually, it’s all about what’s happening with your milk, acid, or handling.
The most common culprit? Too much acid or tossing it into the milk all at once. That shocks the milk and makes the curds break up into tiny pieces, leaving you with crumbly paneer instead of a soft block. Another biggie is using low-fat or skim milk. That type just won’t form strong curds, no matter how careful you are. If you’ve grabbed milk that’s ultra-pasteurized (it’ll say “UHT” on the carton), there’s almost no way to get it to set up firm—the proteins just don’t clump together well.
- Rapid stirring after adding acid: When you pour in your lemon juice or vinegar and stir quickly or harshly, the curds break down more than they should. Gentle, slow stirring makes for larger, softer curds.
- Not draining enough whey: If you skip squeezing out the whey, you’ll end up with sticky, weak paneer that crumbles. On the other hand, draining it too long makes it dry and crumbly too. It’s a balancing act.
- Pressing mistakes: If you use too much weight or not enough, it affects the final texture. Too much pressure = dry and crumbly. Too little pressure = paneer that won’t hold a shape.
Here’s a quick look at what usually goes wrong:
| Cause | What Happens |
|---|---|
| Too much acid, too fast | Curds break into bits |
| Low-fat/skim milk | Poor protein structure |
| Ultra-pasteurized milk | Won’t form proper curds |
| Over-stirring | Small, weak curds |
| Wrong pressing technique | Dry, crumbly texture |
The good news is you can spot each of these issues as they happen and tweak your method for a way better result next time. If your first batch crumbled, you’re in good company. Fixing these usual suspects is how you go from rookie to paneer pro in no time.
Milk: Quality, Type, and Temperature
If your homemade paneer turns out crumbly, the milk you use could be the main culprit. Seriously, not all milk does the job equally well. The magic comes from the right balance of fat and proteins, and some milk types just don’t have it.
If you’re using skim or low-fat milk, stop right there. They usually make disappointing, dry, and crumbly paneer. Go for whole milk—preferably fresh and not ultra-pasteurized. Ultra-pasteurized milk is super common in cartons, but it brings sad results because the processing changes how milk proteins bind. If all you can get is ultra-pasteurized, temper your expectations or add extra cream to up the fat content.
- Whole milk (3.25% fat or higher): Best for soft, creamy, and cohesive paneer.
- Raw milk: Also works beautifully, if you have access and trust your source. Bring it to a boil before using it for safety.
- Ultra-pasteurized milk: Often leads to poor yield and crumbly texture.
Temperature matters just as much. For that dreamy cube of soft paneer, bring your milk to a gentle boil—a temperature around 95°C to 100°C (about 203°F to 212°F) works well. If you underheat, your milk won’t curdle properly, and the curds might fall apart after draining. Boil too roughly, and you’ll end up with tough, rubbery bits that don’t stick together.
| Milk Type | Paneer Texture |
|---|---|
| Whole milk | Soft, holds shape well |
| 2% milk | Less creamy, sometimes crumbly |
| Skim milk | Very crumbly, dry |
| Ultra-pasteurized milk | Inconsistent, mostly crumbly |
For best results, always stir the milk as it heats to avoid scorching. Don’t forget to skim off the layer of cream that forms if you want it extra rich and soft. So to sum things up: full-fat, fresh milk, gently brought to a simmer, is your golden ticket for soft paneer that doesn’t crumble like feta on a bad day.
Coagulation: Timing and Acid Choices
Getting the curds and whey to separate in homemade paneer is the big moment—and the most common place folks mess up. Too quick, too slow, or even the wrong acid, and suddenly you have crumbly paneer that doesn’t hold its shape. Let’s break down what actually matters when you’re splitting the milk.
The timing is everything. Wait until your milk is just about to hit a rolling boil. Turn the heat to low. Now add your acid—usually lemon juice, vinegar, or sometimes yogurt. If you dump in the acid while the milk is still cold or barely warm, the curds won’t set right. If you pour it in when the milk is boiling like crazy, you could end up with paneer that’s rubbery outside and crumbly inside. It’s a science, but you don’t need a lab—just pay attention to the bubbles. That gentle simmer? That’s your green light.
What acid you use—and how much—really changes the game. Lemon juice gives a mild flavor and softer curds, but if you use too much, the curds can break down and fall apart. White vinegar is fast, but it can dry things out and make your paneer crumbly. Yogurt’s a bit more forgiving—it makes a softer cheese and isn’t as harsh, but you’ll need a bit more patience for the curds to form.
"To make paneer that holds together, add acid slowly and stir gently until the whey separates completely. Rinse the curds with cold water to stop cooking and remove sourness, but don’t over-handle or you’ll break them up" — Chef Maunika Gowardhan
How much acid? You want just enough to separate the curds, not drown them. Try starting with 2 tablespoons of lemon juice or vinegar for a liter of milk. Add more only if the milk doesn’t separate after a minute or two. Also, stir slowly. Fast stirring breaks up the curds and gives you that dreaded sandy crumbly paneer.
| Acid | Texture | Notes |
|---|---|---|
| Lemon juice | Soft, mild | Don’t overdo it—can become crumbly with too much |
| White vinegar | Firm, dry | Strong flavor, separates quickly but watch for dryness |
| Yogurt | Creamy, delicate | Takes longer to set, but curds are less likely to crumble |
If your paneer keeps crumbling, odds are you added the acid too soon or used too much, or you stirred like you were mixing a cake batter. Next time, go slow. Watch the milk, add acid bit by bit, and gently nudge the curds as they form. Getting this step right is the difference between dreamy cubes and a pile of crumbs.
How to Fix and Prevent Crumbly Paneer
You don’t need chef-level skills to get homemade paneer just right, but a little know-how feels revolutionary when you’ve been wrestling with crumbly cheese. Here’s what really works, step by step.
- Keep the Heat Moderate: Boiling milk too hard? That’s the fast track to grainy, crumbly paneer. Always heat the milk gently and turn it off the second you see it starting to boil. If you scald it, the protein breaks up too much and never sticks back together properly.
- Acid Goes In Slow: When adding lemon juice or vinegar, don’t just dump it all in. Trickle it in slowly and keep stirring. This helps the curds form bigger, softer clumps instead of splitting into tiny bits.
- Don’t Over-Drain: Squeezing out every drop of whey might seem like a good idea, but that’s actually the fastest way to dry, crumbly cheese. Give the curds a gentle press for 10-15 minutes—just enough to hold their shape but not so much they dry out.
- Rinse the Curds: This washes off the acid and keeps the texture smooth. Just a quick rinse under cool water does the trick. Skipping this step can leave your paneer crumbly and sour.
- Use Whole Milk: Skim or low-fat milk doesn’t have enough fat for creamy, soft paneer. Trust whole milk—it makes a difference in both taste and texture.
- Rest and Weigh Down: After you’ve wrapped the curds in a cheesecloth, put something a little heavy on top (like a pot filled with water or canned goods) for 30-40 minutes. This step is what really helps those curds stick together instead of falling apart.
If you’re still fighting off the crumbles, take a look at these tweaks you can try next time:
- Let the paneer sit in the whey for a couple minutes before draining; this gives it extra time to firm up.
- Cut back a little on lemon juice or vinegar. Too much acid leaves you with chalky, gritty cheese.
- If your climate is super dry, wrap the paneer in a damp cloth while it sets. It dries out fast otherwise.
Here’s a simple table showing how common tweaks affect your paneer:
| Change | Effect on Paneer |
|---|---|
| Use Whole Milk | Softer, richer texture |
| Add Acid Gradually | Smoother, less crumbly curds |
| Don’t Over-Press | Keeps moisture, prevents dryness |
| Rinse Curds | Removes sourness, improves texture |
Once you adjust these basics, watch what happens. Your homemade paneer shouldn’t just hold its shape; it’ll taste fresh, soft, and have that perfect bouncy bite you get at the best restaurants.