Ever thrown some dal in a pot and wondered why it’s taking forever to cook? Turns out, soaking isn’t just old-fashioned advice—it seriously cuts down cooking time and makes dal easier to digest. Even a quick soak of 30 minutes can make a difference, but the timing isn’t one-size-fits-all. Different dals have different soak ‘needs’ and skipping this step can sometimes mean chewier lentils or a heavier meal.
Think of soaking like giving dal a head start: water slips into the grains, softening them up, so they cook up buttery and tender instead of tough or gritty. There’s even a bonus—soaking can break down stuff that causes bloating, especially in heavier dals like chana or rajma. So, if you’ve got a finicky stomach or you just want dal that melts in your mouth, it’s smart not to skip this easy step.
- Why Do We Soak Dal?
- How Long to Soak Different Dals
- Fast Soaking Tricks for Busy Cooks
- What If You Don’t Soak Dal?
- Extra Tips for Perfect Dal Every Time
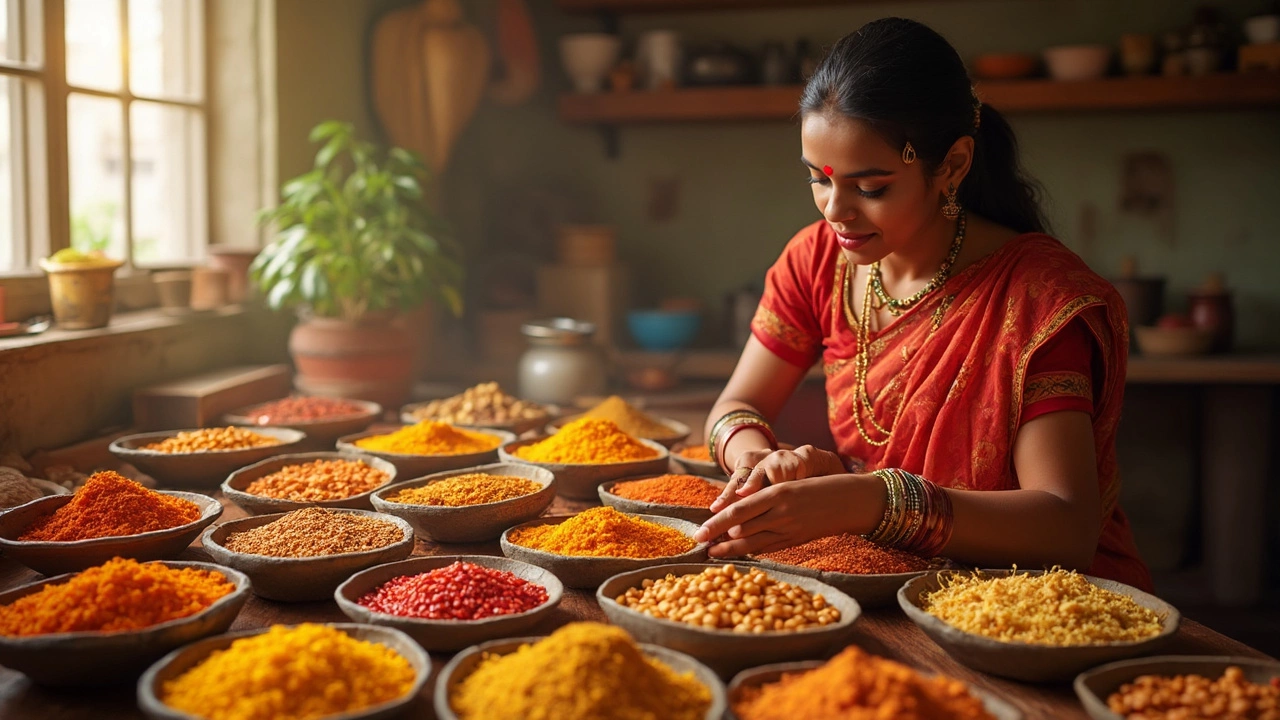
Why Do We Soak Dal?
Soaking dal before you cook it isn’t just an extra step your grandma made up. It’s all about getting dal to cook faster and taste better. The key reason people soak dal is to soften the lentils, so they absorb water before they even hit the stove. This means less time bubbling away at the fire and less fuel wasted.
Certain types of dal, like chana dal or whole urad dal, have thicker skins and really need to soak for a while to turn soft and creamy. When you soak dal, it can cut cooking time by up to half. For example, unsoaked chana dal can take 60–90 minutes on the stove, but with soaking, you’re looking at around 30–40 minutes.
There’s another bonus: soaking dal helps make it easier on your stomach. Some types of dal naturally have complex sugars that are tough to digest. Soaking helps break these down, making dal less likely to cause bloating or gas. Plus, it helps get rid of any dirt or little stones you might miss with just rinsing.
- soaking dal reduces cooking time by up to 50% (especially for large or whole lentils).
- Soaking removes some anti-nutrients like phytic acid, letting your body absorb more nutrients from the dal.
- Lentils that aren’t soaked can end up tough and might not cook evenly, leaving you biting into hard bits.
Here’s a look at average cooking times with and without soaking:
| Type of Dal | Cook Time Without Soaking | Cook Time After Soaking |
|---|---|---|
| Chana Dal | 60–90 min | 30–40 min |
| Whole Urad Dal | 45–60 min | 20–30 min |
| Moong Dal | 25–35 min | 15–20 min |
Long story short: if you want your dal soft, easy to digest, and quick to cook, soaking is worth the few minutes of prep. Just toss the dal in water ahead of time, and let it do its thing.
How Long to Soak Different Dals
There’s no one-size-fits-all when it comes to soaking time. The time you give dal to soak really depends on the type—some types need just a short dip, while others are kind of stubborn and want to lounge longer. Using the right soaking time makes dal cook faster and taste way better, especially for simple dal recipes you want soft and creamy.
| Type of Dal | Minimum Soaking Time | Best Soaking Time | Notes |
|---|---|---|---|
| Masoor Dal (Red Lentils) | 10-15 min | 30 min | Usually cooks fast, soaking is optional but helps for softness |
| Moong Dal (Split Yellow) | No soak | 20-30 min | Cooks quickly even without soaking, but soaking helps digestion |
| Toor Dal (Pigeon Peas) | 30 min | 1-2 hours | Soaking is highly recommended for creamy results |
| Chana Dal (Split Bengal Gram) | 1 hour | 4-6 hours | Needs more time to get soft, especially for thick dals |
| Urad Dal (Black Gram, whole/split) | 2 hours | 4-6 hours | Long soak makes it easier to blend or mash for creamy dishes |
| Rajma, Chickpeas (not dal, but similar prep) | 4-6 hours | Overnight (8 hours) | Absolutely soak or they'll stay tough |
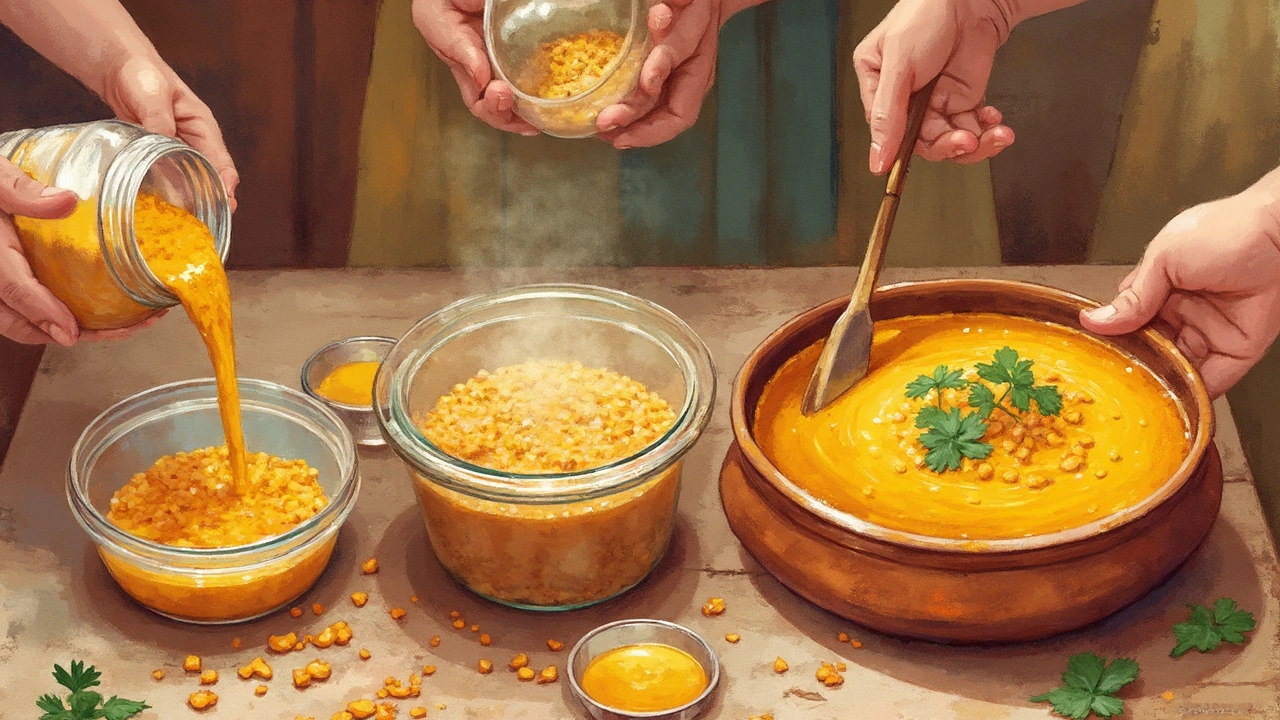
For a typical soaking dal process: rinse the lentils first until the water runs clear, then cover them in enough water—usually double the volume of the dal. If you’re short on time, just use warm water, and it’ll shave off a bit of soaking time. Avoid oversoaking, especially for masoor or moong dal, since they can get mushy.
- Fast cook tip: In a pinch, even 20-30 minutes’soaking makes a big difference, especially for toor or chana dal.
- If you’re using a pressure cooker, you can get away with less soaking—but the flavor and texture really shine when you don’t skip the soak.
- For dals with skins (like whole urad), soaking 6 hours is your gold standard for soft dal with zero chewiness.
The right soak means less hassle, less time at the stove, and happier stomachs.
Fast Soaking Tricks for Busy Cooks
If you’ve ever forgotten to soak dal ahead of time, you’re not alone—almost everyone’s made that last-minute dinner move. But the good news is, there are ways to speed up the soaking process and still get soft, well-cooked dal.
Here are some super handy tricks when you’re in a rush:
- Hot Water Soak: Instead of soaking your dal in room temperature water, use hot water. Boil water and pour it straight over the dal, then cover and let it sit for 30-40 minutes. This works well for toor, moong, and masoor dal.
- Microwave Method: In a microwave-safe bowl, add washed dal and plenty of water. Microwave on high for 5 minutes (make sure the water covers the dal and there’s room at the top so it doesn’t spill over). Let it sit for another 10 minutes—done!
- Pressure Cooker Jumpstart: Put the washed dal and three times its volume of water in a pressure cooker. Cook for just 1 whistle (about 3-4 minutes), then turn it off and let it cool naturally. The soaking is basically done and you can move straight to cooking the dal fully.
Check out this quick comparison table on soaking times using the above tricks versus traditional soaking:
| Dal Type | Traditional Soak | Hot Water Soak | Microwave | Pressure Cooker Jumpstart |
|---|---|---|---|---|
| Masoor (red lentil) | 30 mins – 1 hr | 20 mins | 15 mins | 10 mins |
| Toor (split pigeon pea) | 1–2 hrs | 35–40 mins | 20 mins | 15 mins |
| Chana (split chickpea) | 6–8 hrs | 2 hrs | 1 hr | 45 mins |
One little tip: Always drain the soaking water before cooking, especially if you used heat, as some saponins or starchy stuff can float up. If you have to pick just one method because you’re busy, the hot water soak is usually the easiest to manage for most types of dal.
What If You Don’t Soak Dal?
So, what actually happens if you skip soaking dal? First thing you’ll notice—cooking time basically doubles. No joke. Split yellow moong dal can go from 20 minutes up to over 40 if you toss it in dry. Heavier dals like chana dal or whole urad can take hours. It’s not just about time either: unsoaked dal often ends up firmer with a rough bite, when what you really want is that soft, melt-in-your-mouth feel.
Your stomach might notice, too. There’s a reason folks with sensitive digestion swear by soaking. Unsoaked dals can feel heavier and are more likely to cause bloating or gas. For some people, it’s not just a minor annoyance—it can turn into serious discomfort. Cooking unsoaked dal also means you’ll be hovering over the stove more, checking if the grains are cooked through and sometimes catching that “half-raw” taste if you get impatient.
Here’s a quick comparison to show the difference soaking makes for three popular dals:
| Type of Dal | Cook Time Soaked (minutes) | Cook Time Unsoaked (minutes) | Notes |
|---|---|---|---|
| Moong Dal | 15–20 | 35–45 | Soaks up spices better when pre-soaked |
| Chana Dal | 25–35 | 60–90 | Can stay hard if not soaked |
| Masoor Dal | 12–15 | 25–35 | More even texture when soaked |
If you’re rushing and forget to soak, don’t panic. Pressure cookers are lifesavers and can get the job done even with dry dal—but you’ll still need to add more water and tack on extra minutes. Just know that skipping this step will usually mean more work and less flavorful results when it comes to your soaking dal game.
Extra Tips for Perfect Dal Every Time
Want your dal to come out just right every time? There are some easy tricks that make a big difference, even on busy weeknights.
- Always rinse dal really well before soaking. It helps get rid of surface starch and any bits of dirt you don’t want in your food. Aim for three rinses until the water is clear.
- If you want creamy dal, don’t skip the simmer. After pressure cooking or boiling, let dal sit on low heat and mash it a bit with the back of a spoon. It gets super smooth this way, especially for toor dal or masoor dal.
- Adding salt at the start makes dal skin tough. Instead, wait until the dal is mostly cooked—then salt to taste. You’ll notice way softer results.
- Use fresh water for cooking. If you soaked your dal, drain and use new water for boiling. This keeps flavors clean and stops any bitterness.
- Feeling fancy? Add a splash of lemon juice or a spoon of ghee at the end. It brightens up the flavor and adds that restaurant touch.
- Don’t overcrowd the pot. Dal needs room to expand and cook evenly, so pick a big enough vessel. This is a surprisingly common reason for mushy or uneven dal.
One more thing—if you’re cooking chana or rajma, always taste-test for doneness by squishing a grain between your fingers. It should be really soft all the way through. This simple check saves you from undercooked dal every time.
Keep these tips handy for the next time you pull out your favorite soaking dal recipe, and you’ll notice a difference in both flavor and texture.